If you find these tutorials useful, Please consider making a donation.


 .
.
We see how to scroll forward in our document using cntl+f
And how to scroll backward in the document using cntl+b
Note - PgDn and PgUp keys will also work and pressing a number before cntl+f will go page forward that number of pages.
To get our cursor to the highest line on the screen press shift h (or H) to go to the lowest line on the screen press shift l (or L) and to jump your cursor to the middle of the screen press shift m (or M)
The scrolloffset allows us to set the lowest/highest line on the screen the cursor can go allowing us to see some lines below/above our cursor when we scroll down/up or to keep our cursor position in the middle of the document
We take quick look at "cw" for change word and see that if we are not on the first character of that word, Vim changes from where the cursor is to the end of the word. We want to change the entire word no matter what character of that word we are on. To do that we need to use "ciw" for change in word.
We then see that we can change the text inside of quotes using ci" text within parentheses with ci( and text within curly braces with ci{
We then look at other things we can do using "I for in" like di{ to delete everything between the curly braces or yi{ to yank (copy) everything withing the curly braces
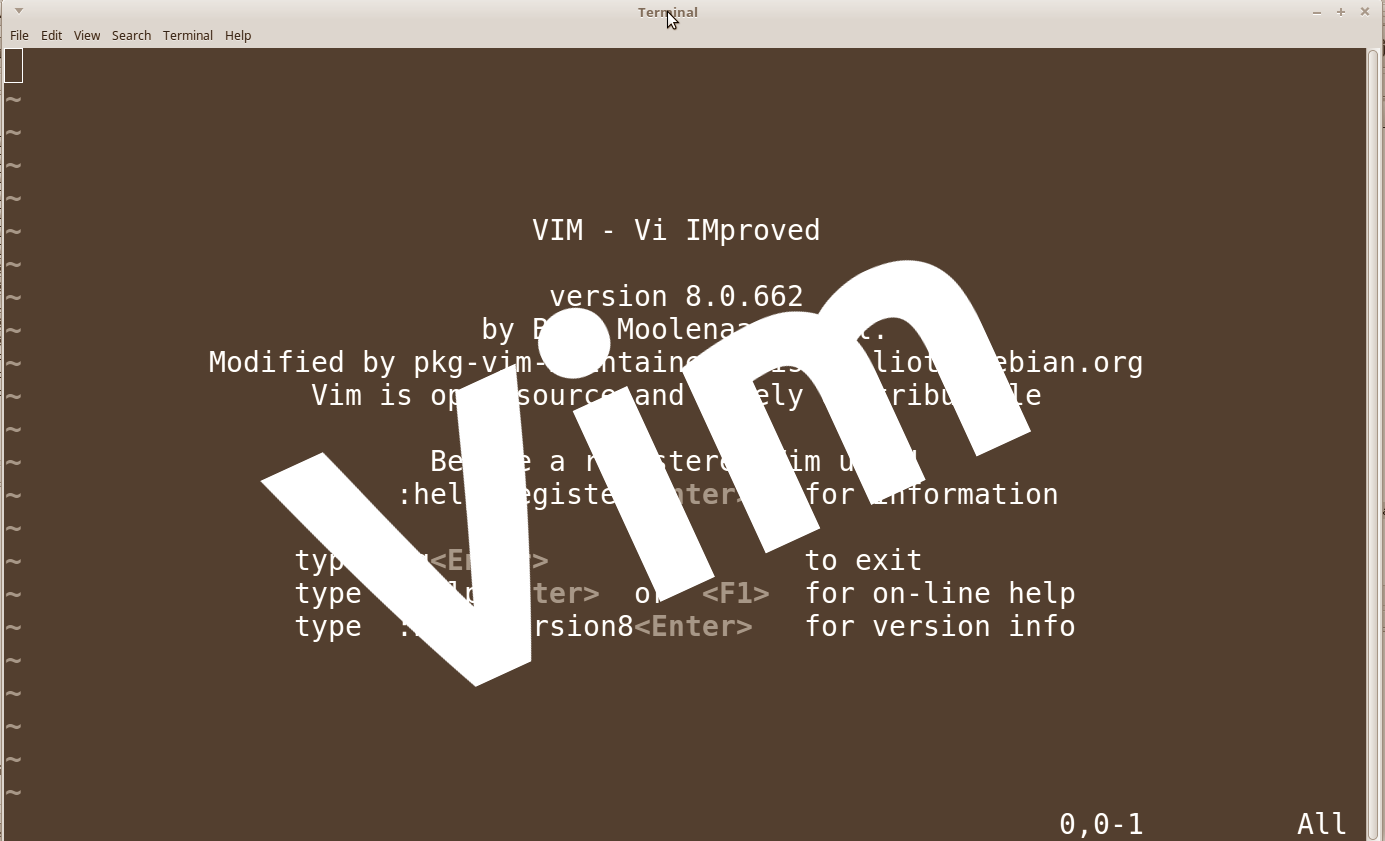
We see an information line when we open Vim, a similar line can be seen by holding down control and pressing lower case "g".
We then look at pasting text into a vim document and how people with older versions of vim may have to type ":set paste" to get the text to line up properly.
We use the ":w" command to create a backup of a document and show how the file-name does not change after making a backup.
When then make two new files newLine.txt and joinMe.txt that we will use later in the video.
We see how to use ":view" to open a file in Vim in "read-only" mode. With the shortcut :vie then we edit a file opening with ":edit" :e for short
We use ":r" to read in the files we created earlier in the video.
We see how to join 2 lines with upper case "J" and joining 3 or more lines by typing that number before the "J".
We then look as how to sort lines by typing in the line numbers (separated by a comma) sort to sort ascending order or to sort in descending order, place an exclamation point (!) at the end of the sort line. Sort the entire file by replacing the starting and ending line numbers with %
The last thing we look at is ":set list" which will show the end of line character for every line in the file.
The Change List is a way to quickly go to the spot in the text where you made an edit/update/change to your text file.
You can go backwards (to the last/previous change) by pressing lower case "g" and then semi-colon.
You can go forward (to the next/more recent change) by pressing lower case "g" and then comma.
You can see the entire Change List by typing :changes
The Jump list is like the change list, but instead of keeping track of edits, it keeps track of the jumps. What is considered a jump, are things like searches including the substitute command, finding marks. What is NOT consider a jumps, are things like - Scrolling through the file or paging up and down
You can go backwards (to the last/previous jump) by holding control and pressing the letter o.
You can go forward (to the next/more recent jump) by holding down control and pressing the letter i.
You can see the entire Jump List by typing :jumps
We set a mark in our text document using "m" and then the lower case letter we want to use as a mark (I use the lower case letter "a")
To get to the line with the mark on it - use the single quote and then the letter you used as a mark (I used "a" as a mark, to get to that mark I would press 'a)
To get the to the character you marked on the line you marked press back-tick, then the letter you used as a mark (I used "a" as a mark, to get to the character marked I would press `a)
I add more marks to the document.
To go to the previous marked line I would press left bracket single quote ['
To go to the next marked line, I would press right bracket single quote ]'
To go to the previous mark, I would press left bracket back-tick [`
To go to the next mark, I would press right bracket back-tick ]`
To see what marks are in this document type :marks
Setting a mark with an upper case letter (I use an upper case letter "A" as my example) works the same a lower case letter when you are in that file.
When you are in a different vim document and you search for that upper case mark (I pressed single quote upper case A - 'A) vim opens the document I marked and takes me to that line.
Marks are removed with :delmarks a-z or :delmarks a,A,m or :delmarks!
In this video, we see how to jump to a character in the line we are on.
To jump to the next letter "r" on the line you are on, you would type fr
To jump to the previous letter "r" on the line you are on, you would type Fr
To jump to the next letter before the letter "r" on the line you are on, you would type tr
To jump to the letter next to the are "r" on the line you are on, going to the left, you would type tr
We can also Yank, Delete, or Change from our cursor to the letter we finding or going to, by pressing y,d, or c before pressing the f or t
If there are multiple occurrences of the character you are searching for, you can use the search we learned about in Vim (07) and Vim (08)