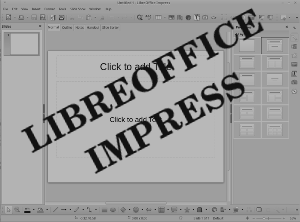
We start to create a new LibreOffice Impress document from all the default settings.
The Title layout is selected and two autolayouts (also known as placeholders) are seen in the workspace. On the top we have the title placeholder and below that, we have a text placeholder. These placeholders are there to help keep formatting consistent throughout your document. The placeholders will not show up in the slideshow presentation or printed notes.
Clicking in a placeholder puts us into edit mode where we can type in and text and change the formatting. With LibreOffice 5.0 and up we can use the formatting in the sidebar, but the text formatting toolbar is still available for those who prefer to use it.
We type some text into the title placeholder and show that making changes to text in Impress is the same as making changes to text in writer, we first need to select some text, the apply the changes to the selected text.
We show how to reposition a text box, how to resize the textbox and how to use snap to grid. Then we look at how to rotate the textbox and that holding down shift will help us easily rotate to 90 and 180 degrees.
Then we change the area fill color to change the color of the background of the textbox and shows the rounded corners we created earlier
We look at how to delete a text box, and how to add a textbox.
We open the text toolbar and look at how to add a “fit text to frame” textbox and a “Callout” textbox.
We start from where we left off in the previous video with our simple document.
The first thing I do is I delete the unneeded text boxes.
We add another slide and see a couple of different ways to insert a slide and delete a slide (or slides).
We create 2 slides with titles and bullet points.
We see how to change the space between the bullet points, turn them off or on, change the bullets to numbers , letters, roman numerals, or just different bullets.
We copy the title slide and change the text to show "Thank You" for a closing slide.
We then see how to change the background with the master slide (for all slides) and we change the opening and closing slides to have a different master slide.
The last thing we do is change the textbox background to yellow on our opening and closing slides

 .
.